
Instructor Manual
Getting Started
Side Panel
You can organize multiple courses in your library with the help of side panel. It comprises of pre-defined groups:
So, if you have multiple courses in your library you can easily manage it under these categories. You can even create custom groups to organize it further.
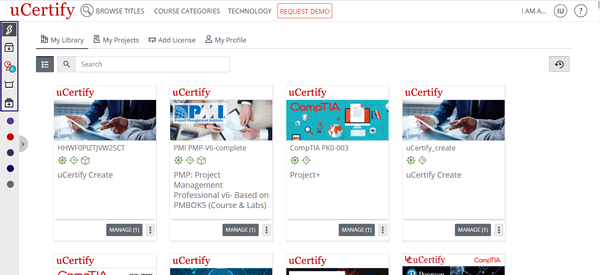
Figure 1.1: My Library Page with Pre-Defined Groups
Go to your My Library and click the Add group button.
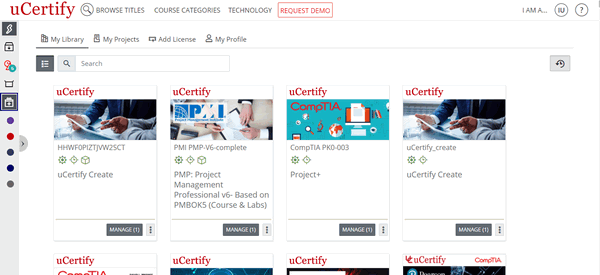
Figure 1.2: My Library Page with Add group button
Enter the name for the group of courses, which you want to create. Pick a color to identify your group and select the required courses for your group. Finally, click the Add button to create the group.
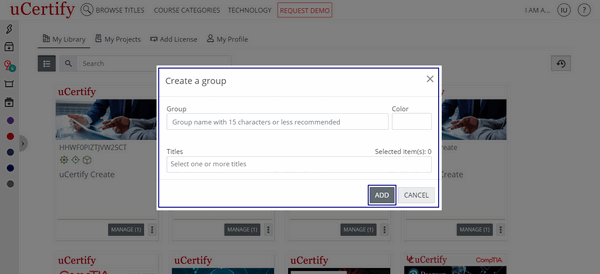
Figure 1.3: Create a group Modal Box with Add Button
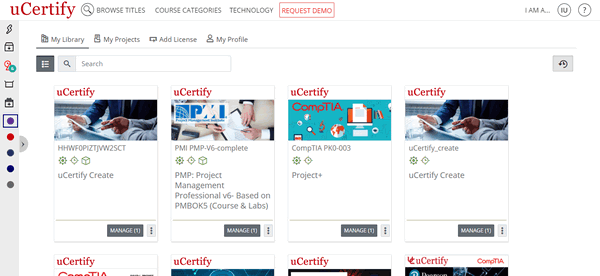
Figure 1.4: My Library Page with Course Group
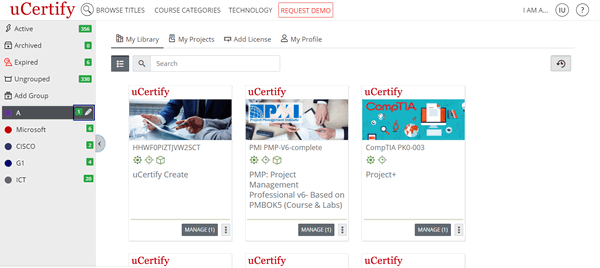
Figure 1.5: My Library Page with Edit Course Group Option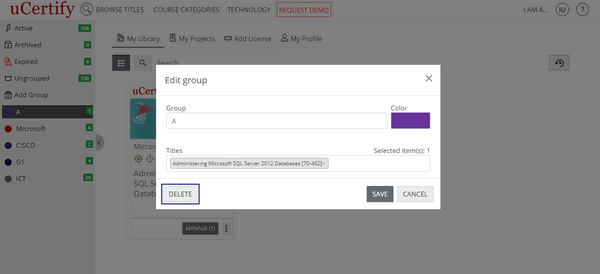
Figure 1.6: Edit Group Modal Box with Delete Button
So, if you have multiple courses in your library you can easily manage it under these categories. You can even create custom groups to organize it further.
Figure 1.1: My Library Page with Pre-Defined Groups
Go to your My Library and click the Add group button.
Figure 1.2: My Library Page with Add group button
Enter the name for the group of courses, which you want to create. Pick a color to identify your group and select the required courses for your group. Finally, click the Add button to create the group.
Figure 1.3: Create a group Modal Box with Add Button
Figure 1.4: My Library Page with Course Group
Figure 1.5: My Library Page with Edit Course Group Option
Figure 1.6: Edit Group Modal Box with Delete Button
Where to locate instructor tools
Instructor tools help you manage a course or a section. On the My Library page, look for the course you want to manage and click the Manage button to go to instructor tools.
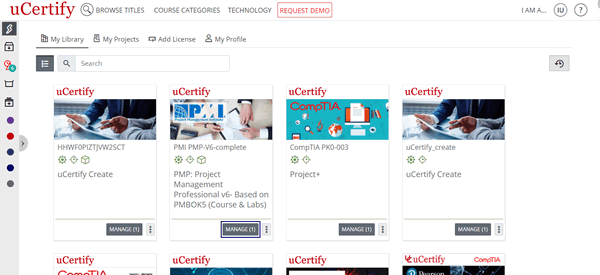
Figure 1.7: My Library Page with Manage Button
To add new section, click the Add new section button.
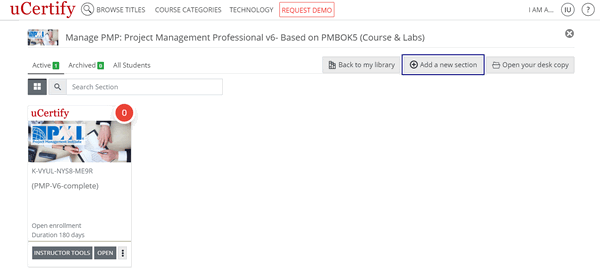
Figure 1.8: Manage Course Page with Add a new section Button
You can Create a New Section, Clone Using Section List, Clone Using Section Key. Provide the other required details and click the Save and manage section button.
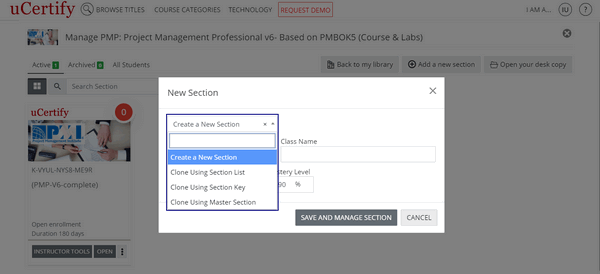
Figure 1.9: Manage Course Page with New Section Modal Box and Section Option Drop-Down
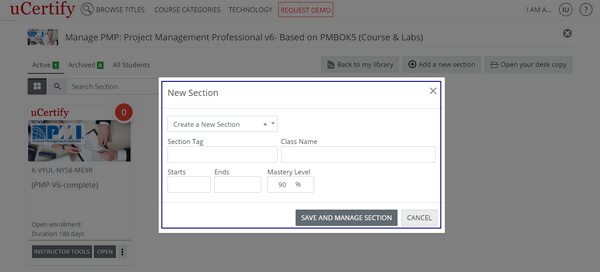
Figure 1.10: Manage Course Page with New Section Modal Box and Save and manage section button
Click the Instructor Tools button.
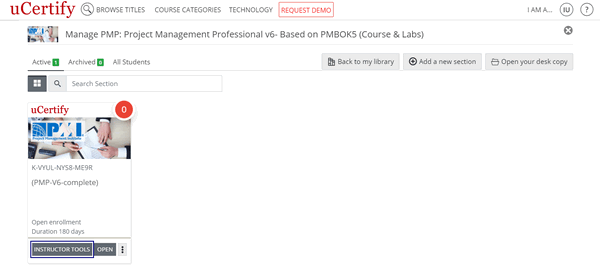
Figure 1.11: Manage Course Page with Instructor Tools Button
On the Dashboard, you will see the following horizontal tabs:
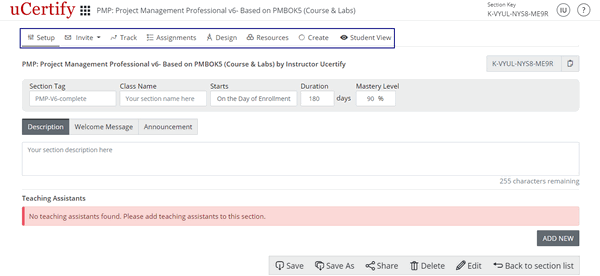
Figure 1.12: Setup Page with Tools Tab
Figure 1.7: My Library Page with Manage Button
To add new section, click the Add new section button.
Figure 1.8: Manage Course Page with Add a new section Button
You can Create a New Section, Clone Using Section List, Clone Using Section Key. Provide the other required details and click the Save and manage section button.
Figure 1.9: Manage Course Page with New Section Modal Box and Section Option Drop-Down
Figure 1.10: Manage Course Page with New Section Modal Box and Save and manage section button
Click the Instructor Tools button.
Figure 1.11: Manage Course Page with Instructor Tools Button
On the Dashboard, you will see the following horizontal tabs:
Figure 1.12: Setup Page with Tools Tab
How to exit instructor tools
From the My Library drop-down list, select the My Library option and you will be redirected to the library page.

Figure 1.13: My Library Drop-down with My Library Option
Figure 1.13: My Library Drop-down with My Library Option
Providing students with the section key
Each course has a unique 13-digit section key listed on the Setup tab, in the Section Key box. Share this section key with your students.

Figure 1.14: Setup Page with Section Key Box
There are two ways students can link with your course/section.
Method 1: Student has a 16-digit Access Code & a URL to submit it.
In this method, students will use their 16-digit Access Code in combination with the instructor keys to be linked with your particular course/section. Students will take the following steps:
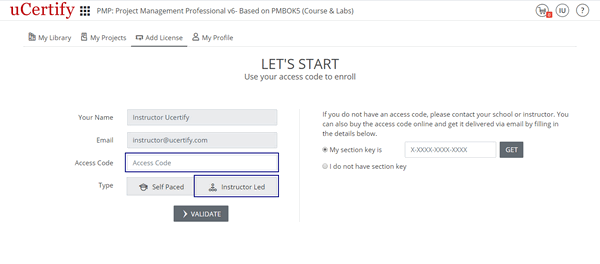
Figure 1.15: Add License Page
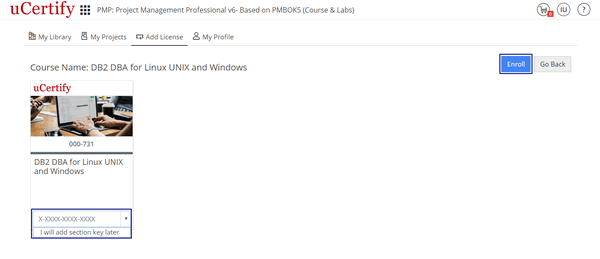
Figure 1.16: Course Enrollment Page in Instructor Led Mode with Section Key Option and Enrollment Button
Method 2: You can add the section key on the Dashboard.
Figure 1.14: Setup Page with Section Key Box
There are two ways students can link with your course/section.
Method 1: Student has a 16-digit Access Code & a URL to submit it.
In this method, students will use their 16-digit Access Code in combination with the instructor keys to be linked with your particular course/section. Students will take the following steps:
Figure 1.15: Add License Page
- The course enrollment page will open. Type the provided section key in the section key box or select the I will add section key later option from the drop-down and click the Enroll button to enroll in the course.
Figure 1.16: Course Enrollment Page in Instructor Led Mode with Section Key Option and Enrollment Button
- You can view the student information by clicking the Track tab.
Method 2: You can add the section key on the Dashboard.